

During the war in a Britain, knitting by hand reached its peak. Women, and a few men, were encouraged to contribute to the war effort by knitting. It was considered one’s duty to knit socks, hats, and other items for the troops serving throughout the Empire. The motto was: “England expects – knit your bit.”
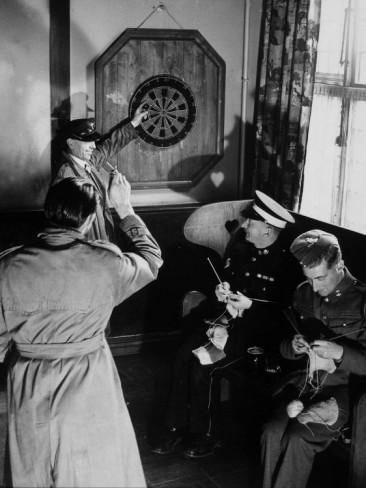
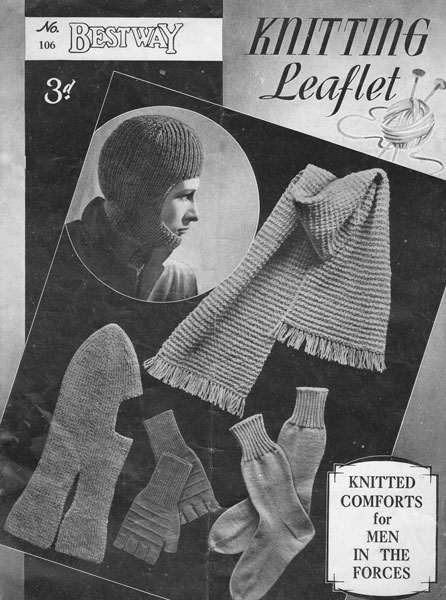
Manufacturers gave away free knitting patterns and knitting wool was given to schools so that children could knit gloves, scarves, balaclava “helmets,” (a balaclava was a knitted covering designed to keep the neck and head warm, with just an opening for the face, and worn under a helmet) and knitted hats for the forces. Wool was also supplied to local WIs (Women’s Institutes of Great Britain), who made over 22 million knitted garments for the Red Cross (an average of 67 garments per member). Items knitted were sent to prisoners of war, as well as to troops overseas.
The warmth of the knitted garments also made them popular for those on the home front, who were faced with a shortage of heating fuel and needed to keep warm during wartime winters. In the face of wool rationing, knitters were encouraged to unravel old sweaters and other woolen garments to make new ones. Waste not, Want not!
Below are pattern instructions for the Balaclava helmet. Knit your own and stay warm!
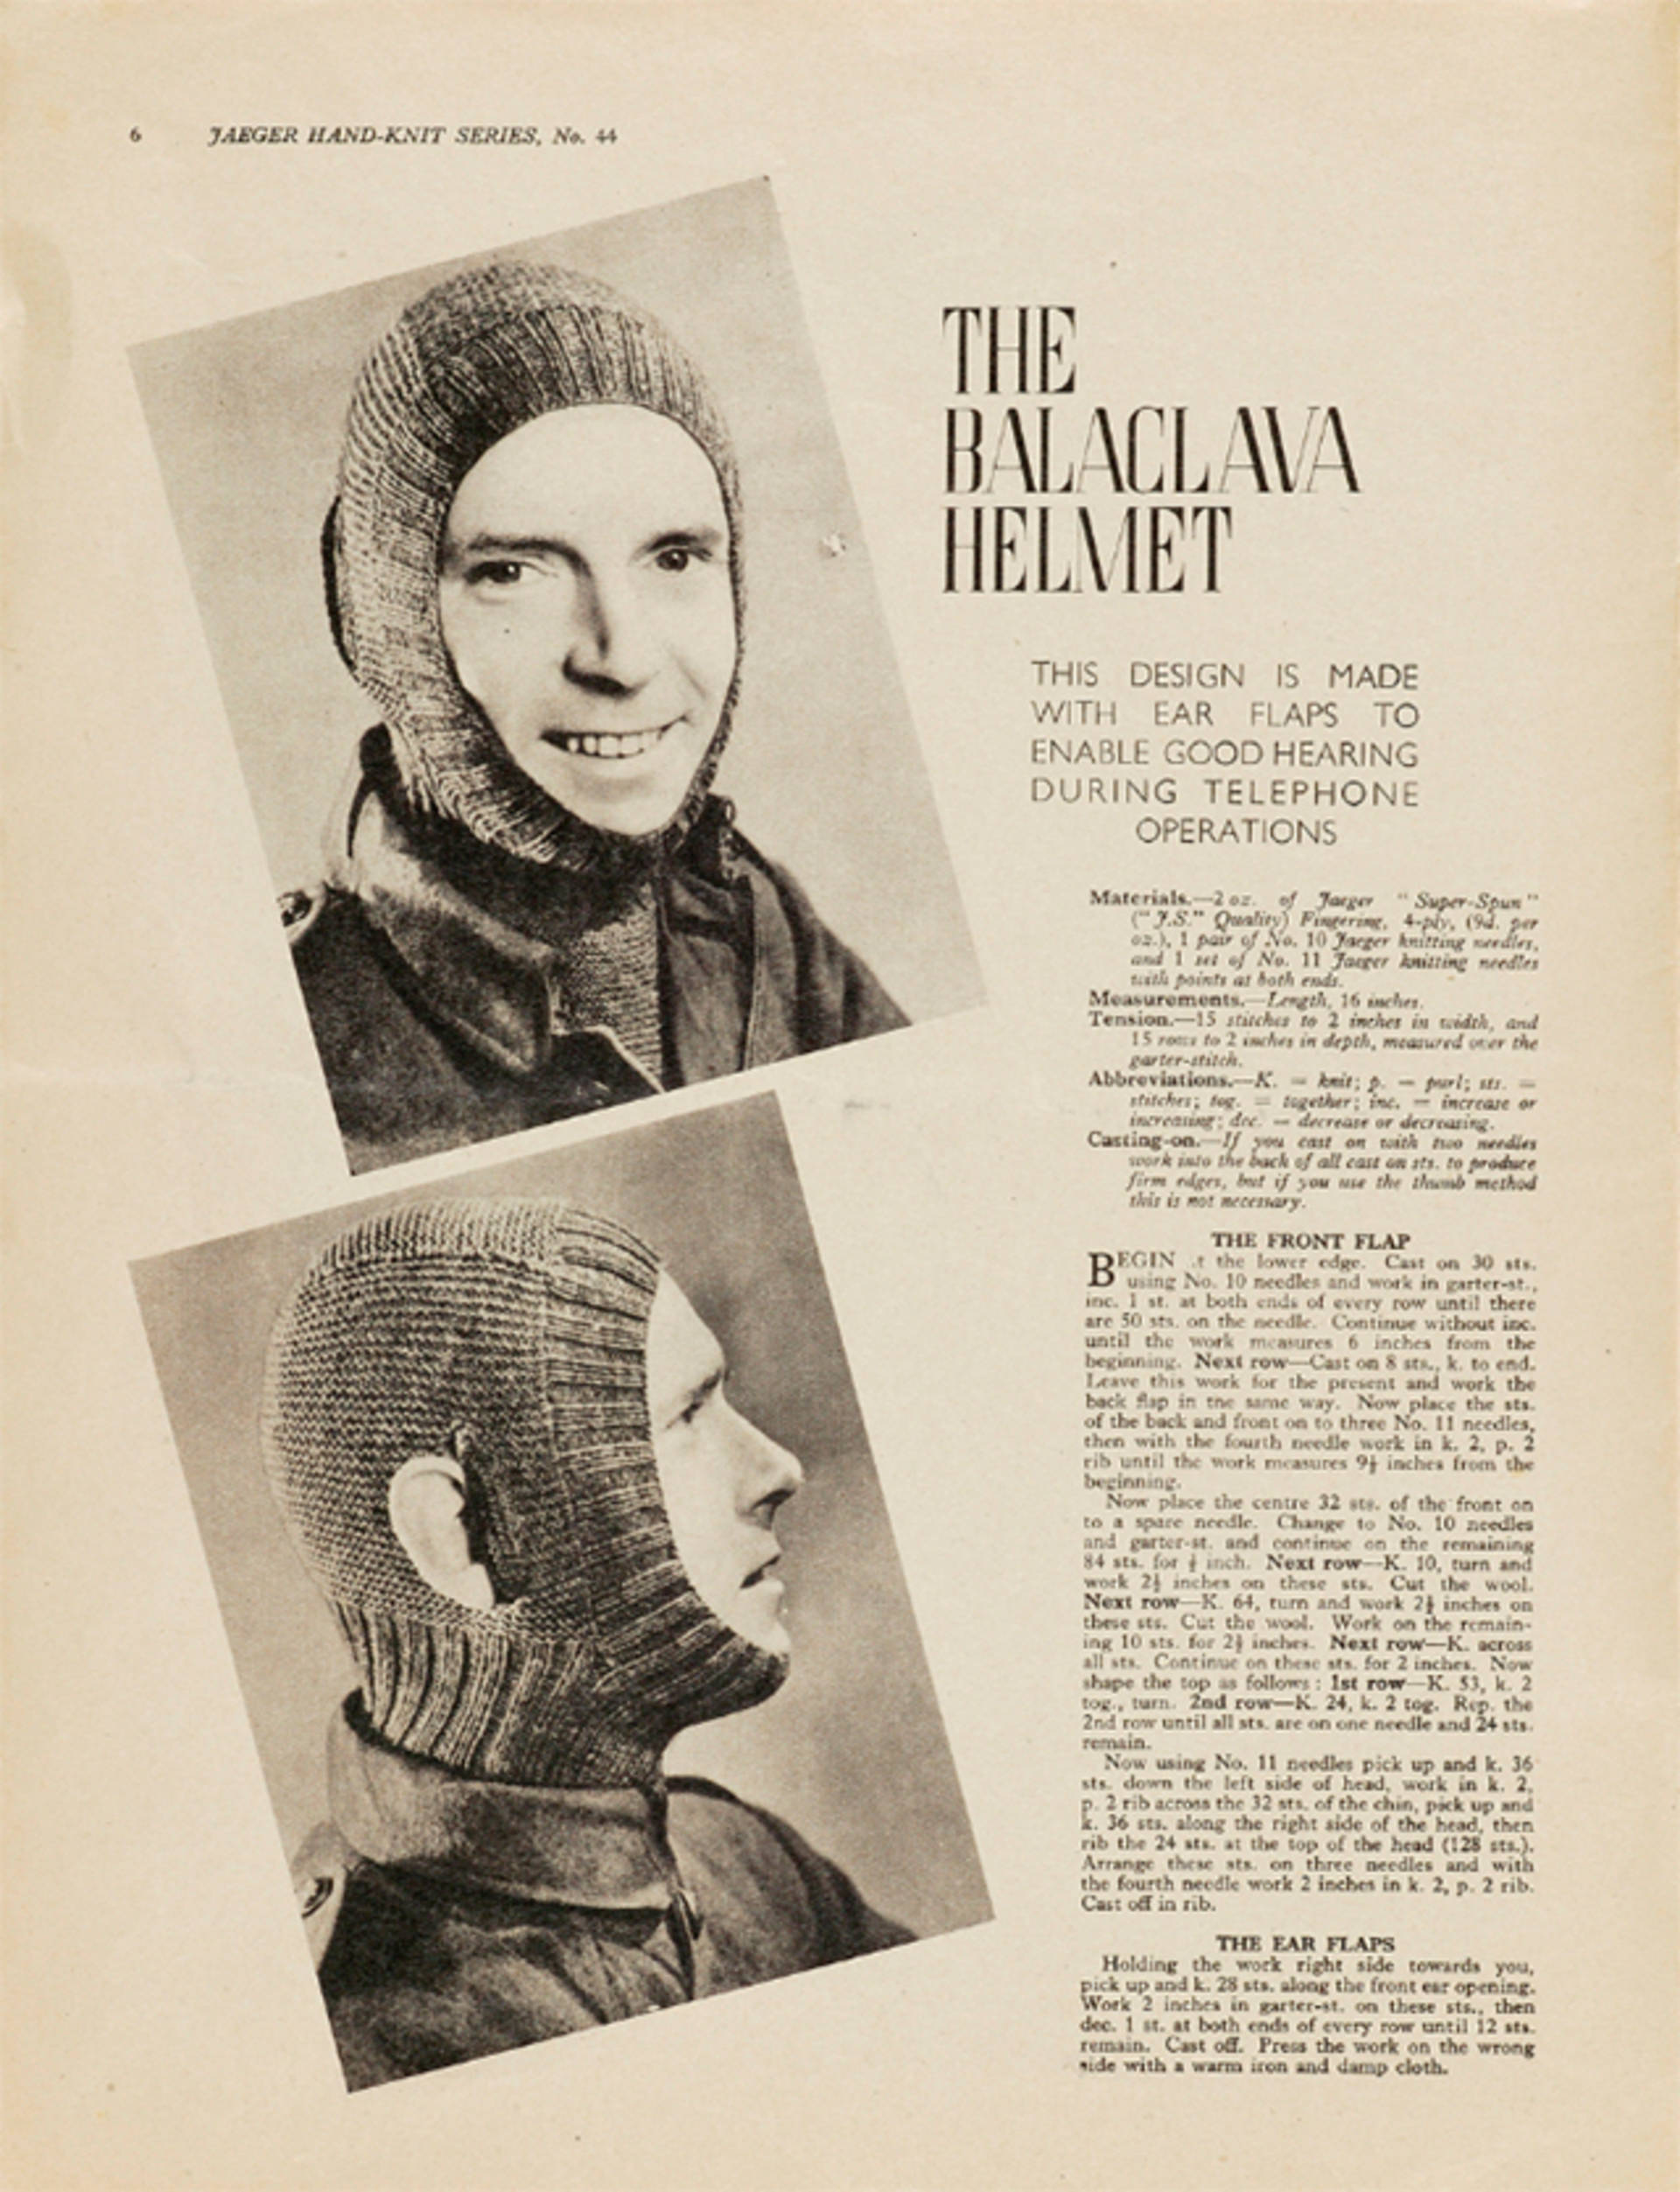
The Balaclava Helmet
Materials
2 oz. of Jaeger “Super-Spun” (“,J.S.” Quality) Fingering, 4 -ply, (9d. per oz.), 1 pair of No. 10 Jaeger knitting needles, and 1 set of No. 11 Jaeger knitting needles with points at both ends.
Measurements Length, 16 inches.
Tension
15 stitches to 2 inches in width, and 15 rows to 2 inches in depth, measured over the garter-stitch.
Abbreviations
K. = knit; p. = purl; sts. = stitches; tog. = together; inc. = increase or increasing; dec. = decrease or decreasing.
Casting-on
If you cast on with two needles work into the back of all cast on sts. to produce firm edges, but if you use the thumb method this is not necessary.
The front flap
Begin at the lower edge. Cast on 30 sts. using No. 10 needles and work in garter-st., inc. 1 st. at both ends of every row until there are 50 sts. on the needle. Continue without inc. until the work measures 6 inches from the beginning.
Next row – Cast on 8 sts., k. to end. Leave this work for the present and work the back flap in the same way. Now place the sts. of the back and front on to three No. 11 needles, then with the fourth needle work in k.2, p.2 rib until the work measures 9.5 inches from the beginning. Now place the centre 32 sts. of the front on to a spare needle. Change to No. 10 needles and garter-st. and continue on the remaining 84 sts. for 0.5 inch.
Next row – K.10, turn and work 2.5 inches on these sts. Cut the wool.
Next row – K.64, turn and work 2.5 inches on these sts. Cut the wool. Work on the remaining 10 sts. for 2.5 inches.
Next row – K. across all sts. Continue on these sts. for 2 inches. Now shape the top as follows: 1st row – K.53, k.2 tog., turn.
2nd row – K.24, k.2 tog. Rep. the 2nd row until all sts. are on one needle and 24 sts. remain. Now using No. 11 needles pick up and k.36 sts. down the left side of head, work in k.2, p.2 rib across the 32 sts. of the chin, pick up and k.36 sts. along the right side of the head, then rib the 24 sts. at the top of the head (128 sts.). Arrange these sts. on three needles and with the fourth needle work 2 inches in k.2, p.2 rib. Cast off in rib.
The ear flaps
Holding the work right side towards you, pick up and k.28 sts. along the front ear opening. Work 2 inches in garter-st. on these sts., then dec. 1 st. at both ends of every row until 12 sts. remain. Cast off. Press the work on the wrong side with a warm iron and damp cloth.